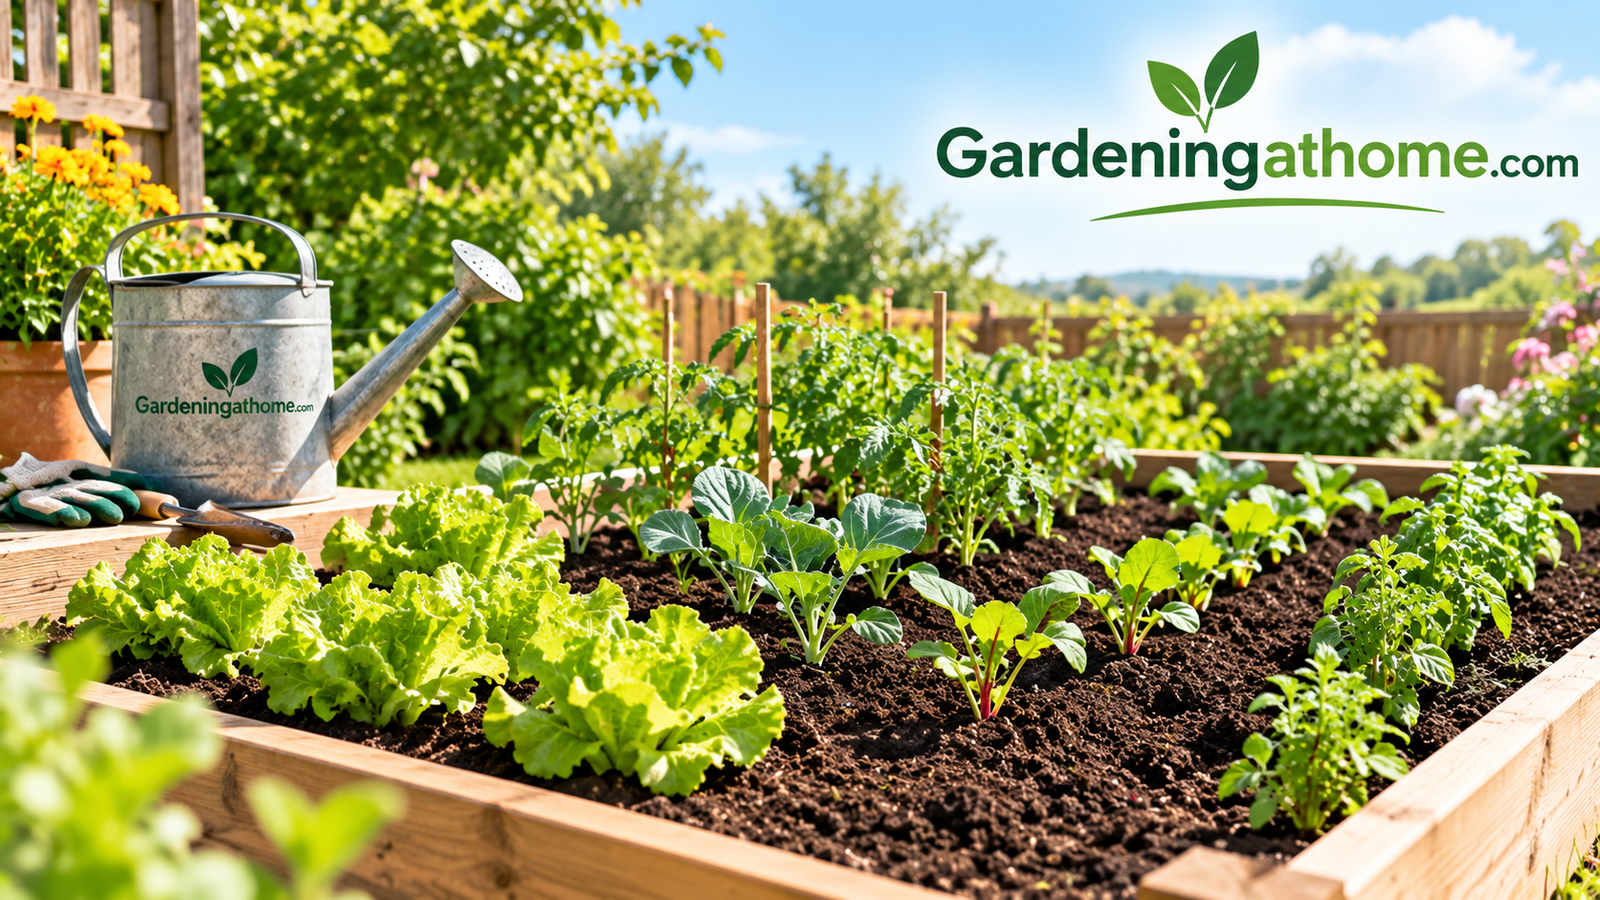
How to Start a Vegetable Garden: A Complete Beginner’s Guide From Bare Ground to First Harvest
Pick a spot, build good soil, plant the right crops, and keep them thriving. Everything a first-time grower needs, in plain language and in the order you will actually do it.
The short answer
To start a vegetable garden, choose a spot that gets six to eight hours of direct sun, decide whether you will grow in the ground, a raised bed, or containers, loosen the soil and mix in compost, plant easy crops at the right spacing, water deeply at the base of each plant, and mulch to hold moisture and block weeds. Start small, around a four by eight foot bed, and expand once you know what you enjoy growing.
There is a moment every new gardener remembers: you walk outside in the morning, peel back a leaf, and find the first tiny tomato or a pod of peas you actually grew. Nothing at the grocery store matches it. The good news is that growing vegetables is far less mysterious than it looks from the outside. Plants want to grow. Your job is to give them light, decent soil, steady water, and a bit of protection while they find their feet.
This guide walks through the whole process in the order you will do it. We start with the big decisions (where, how big, what style), move through tools and soil, and then get into planting, watering, feeding, and dealing with the pests that show up uninvited. If you want an even broader overview of the hobby, our gardening at home hub collects the basics in one place, and our guide on how to start a garden from scratch covers the same ground for ornamental beds.
Why Growing Your Own Vegetables Is Worth It
Before you buy a single seed packet, it helps to be clear about why you are doing this, because your reason shapes every other choice. Some people want fresher, better-tasting produce. Others want to cut grocery costs, spend more time outdoors, teach kids where food comes from, or simply have a hobby that gets them off a screen. All of those are good reasons, and each points toward a slightly different garden.
Flavor and freshness you cannot buy
Store vegetables are bred for shipping and shelf life, then picked days or weeks before you eat them. A tomato eaten warm from the vine, a carrot pulled and rinsed on the spot, or lettuce cut ten minutes before dinner tastes noticeably different. Sugars start converting to starch the moment many vegetables are harvested, so speed matters, and the home gardener always wins on speed.
Real savings on the right crops
A packet of seeds costs a few dollars and can produce pounds of food. The savings are biggest on crops that are expensive at the store or spoil quickly, such as fresh herbs, salad greens, cherry tomatoes, and peppers. Crops like potatoes and onions are cheap to buy and take up a lot of room, so they are less compelling for small gardens. If budget is your main driver, our list of cheap gardening ideas for beginners shows how to start for very little.
A hobby that pays you back in other ways
Gardening gets you outside, moving gently, and paying attention to small changes. Many people find it calming. It also teaches patience in a useful way: you cannot rush a seedling, but you can set it up well and let time do the work.
What you gain
- Better flavor and peak freshness
- Lower grocery bills on high-value crops
- Control over what goes on your food
- Time outdoors and light physical activity
- A skill that improves every season
What to expect
- Some upfront cost for soil, beds, and tools
- A few hours of weekly attention in season
- Occasional crop failures while you learn
- Weather and pests you cannot fully control
The trade-offs are modest, especially if you start small and learn as you go. Treat your first season as an experiment rather than a final exam. Even experienced growers lose a crop or two every year.
Want a simple way to begin? A starter seed collection takes the guesswork out of your first shopping trip.
Shop Vegetable Seed Kits on AmazonPick the Right Spot for Your Garden
Location decides more about your success than any product you will ever buy. Most vegetables, especially the fruiting ones like tomatoes, peppers, squash, and cucumbers, need six to eight hours of direct sunlight a day. Leafy crops and some roots can get by on four to six. A sunny spot with average soil will outperform a shady spot with perfect soil almost every time.
How to read the sun in your yard
Do a simple sun map. On a clear day, check the area every two hours from morning to evening and write down whether it is in full sun, partial shade, or full shade. Remember that the sun sits lower in spring and fall than in midsummer, and that trees leafing out can change a bright spot into a shady one. If the difference between full sun and partial shade is new to you, our explainer on understanding full sun vs partial shade breaks down what those labels mean on plant tags.
Other things to check
- Water access. If you have to haul a watering can fifty feet, you will water less often. Place the garden within hose range.
- Drainage. Avoid low spots where water pools after rain. Soggy roots rot quickly.
- Wind. A constant, strong wind dries plants and snaps stems. A fence or hedge on the windy side helps.
- Distance from the kitchen. A garden you pass daily gets harvested at peak ripeness. A hidden one gets forgotten.
- Tree roots. Large trees compete aggressively for water and nutrients, and their roots will invade a bed.
Not sure how much light your spot really gets? A simple sunlight meter takes the guessing out of it.
Find Garden Light Meters on AmazonChoose a Garden Style and Size
Once you know where the garden will go, decide what kind of garden it will be. There are three beginner-friendly options, and each suits a different situation. None is the single right answer. The best choice is the one you will actually maintain.
| Style | Best for | Main advantage | Main drawback |
|---|---|---|---|
| In-ground | Large yards with workable soil | Cheapest, most room to grow | More weeds, may need heavy soil improvement |
| Raised bed | Poor soil, small yards, easier on the back | Better drainage, fewer weeds, warms early | Upfront cost for lumber and soil |
| Containers | Patios, balconies, renters | Portable, minimal weeding | Dries out fast, limited root room |
How big should your first garden be?
The classic beginner mistake is planting a garden large enough for a farm and then burning out by July. A four by eight foot bed (32 square feet) is the sweet spot. You can reach every plant from the edges without stepping on the soil, and it holds enough for a satisfying mix of crops. Keep paths between beds at least two feet wide so a wheelbarrow or your knees fit comfortably.
If you only have a balcony or patio
You can still grow real food. Large containers, grow bags, and railing planters handle tomatoes, peppers, herbs, and salad greens beautifully. Our guides to balcony gardening ideas for apartments and the easiest vegetables to grow in pots help you pick plants that thrive in tight spaces. Matching container size to the plant matters a lot, so see how to choose the right pot size for plants before you buy.
City gardeners often combine all three styles, and the idea has a name. If you are curious how people grow food in dense neighborhoods, read what is urban gardening.
A cedar or metal raised bed kit goes together in minutes and removes the hardest part of a first garden.
Browse Raised Garden Bed Kits on AmazonGather the Tools You Actually Need
Garden centers will happily sell you a shed full of gadgets. You need very few of them. A handful of sturdy basics covers nearly everything a vegetable garden asks of you, and buying quality for the few you use daily is smarter than buying a cheap set of twenty.
The core list
- Hand trowel and hand fork. For planting, transplanting, and loosening soil around roots.
- Garden spade or shovel. For turning beds and moving compost.
- Bypass pruners. For harvesting tough stems and trimming plants.
- Hose with a spray nozzle, or a watering can. A gentle shower setting protects seedlings.
- Garden rake. For leveling soil and covering seeds.
- Gloves. They prevent blisters and keep soil out of your nails. See our roundup of the best gardening gloves for options that fit well and last.
Our full checklist of essential gardening tools for beginners goes deeper on what to buy first and what can wait. A useful rule: buy the tool when you hit a job that truly needs it, not before.
Supplies beyond tools
You will also want plant labels and a waterproof marker (you will forget what you planted where), twine or cages for tall crops, and a small notebook. A garden journal sounds fussy, but a few notes on planting dates and what worked will make next year dramatically better.
A solid beginner tool set saves you from buying pieces one at a time and wearing out flimsy ones.
See Garden Tool Sets on AmazonBuild Healthy Soil: The Real Secret
Experienced gardeners say they grow soil, not plants. Healthy soil holds moisture without becoming waterlogged, drains excess water, feeds roots, and supports a living community of microbes and earthworms. If you get this step right, nearly everything after it becomes easier.
Know what you are starting with
Grab a handful of moist soil and squeeze it. If it forms a sticky, slick ribbon, you have heavy clay. If it falls apart and feels gritty, it is sandy. If it holds together loosely and crumbles when you poke it, you have the ideal in-between called loam. Almost any soil improves with the same remedy: organic matter.
Add compost, then add more compost
Spread two to three inches of finished compost over the bed and fork it into the top eight to ten inches. Compost loosens clay, helps sand hold water, and slowly feeds plants. Well-rotted manure works too, as long as it is fully aged. Fresh manure can burn roots and carry pathogens.
Filling raised beds and containers
For raised beds, a common and reliable mix is roughly equal parts quality topsoil, compost, and a lightener such as coconut coir or perlite. For containers, skip garden soil entirely, since it compacts and drains poorly in pots. Use a bagged mix made for containers. Our article on the best potting soil mix for indoor plants explains what to look for in a good mix, and most of the advice applies to outdoor pots too.
Consider a simple soil test
A home test kit or a lab test through your local extension office tells you the pH and major nutrient levels. Most vegetables prefer a slightly acidic to neutral pH, roughly 6.0 to 7.0. If yours is far outside that range, amendments can correct it before you plant, which is cheaper than fighting problems all season.
A basic soil test kit costs less than a bag of fertilizer and tells you exactly what your bed needs.
Shop Soil Test Kits on AmazonWhat to Grow First: Beginner-Friendly Vegetables
Choosing crops is the fun part, and the temptation is to plant everything. Resist that. Pick five or six vegetables you genuinely like to eat, and lean toward ones that forgive mistakes. Success early on builds the confidence that carries you through tougher crops later.
Cool-season and warm-season crops
Vegetables fall into two broad camps. Cool-season crops such as lettuce, spinach, peas, radishes, kale, and broccoli grow best in the mild weather of spring and fall and may bolt or turn bitter in summer heat. Warm-season crops such as tomatoes, peppers, cucumbers, zucchini, beans, and squash need warm soil and no frost risk, so they go in after your last spring frost date. Look up your local last and first frost dates, since they anchor your whole planting calendar.
| Vegetable | Season | Difficulty | Time to harvest | Notes |
|---|---|---|---|---|
| Radishes | Cool | Very easy | 3–4 weeks | Fast reward, great for kids |
| Lettuce | Cool | Very easy | 4–7 weeks | Cut-and-come-again harvesting |
| Bush beans | Warm | Easy | 8–9 weeks | Productive, no trellis needed |
| Zucchini | Warm | Easy | 6–8 weeks | One or two plants are plenty |
| Cherry tomatoes | Warm | Easy to moderate | 9–12 weeks | Needs a cage or stake |
| Carrots | Cool | Moderate | 10–14 weeks | Needs loose, stone-free soil |
| Peppers | Warm | Moderate | 10–14 weeks | Loves heat and steady water |
| Herbs (basil, chives) | Varies | Easy | 4–8 weeks | Pinch often for bushy growth |
Seeds or transplants?
Some crops are best sown directly into the garden: carrots, radishes, beans, peas, and squash dislike root disturbance. Others, like tomatoes and peppers, need a long head start, so buying young transplants from a nursery saves months and boosts your odds. For a first-timer, a mix of both is perfect.
Think about how much you will eat
Plant what your household will actually consume. One zucchini plant can easily bury a family in squash. Four to six lettuce plants, staggered over time, beat a whole row that ripens at once. If tomatoes are your dream crop and space is tight, our guide to how to grow tomatoes on a balcony shows how much you can get from a single large container.
Pick up beginner-friendly seed packets in bulk to try several crops without overspending.
Shop Easy Vegetable Seeds on AmazonPlant Seeds and Transplants the Right Way
With the bed ready and your crops chosen, it is time to plant. The two details that matter most are spacing and depth. Crowded plants compete for light, water, and nutrients, and they trap humidity that invites disease. Planting too deep or too shallow leads to weak or failed seedlings.
Sowing seeds directly
Read the packet. It tells you depth, spacing, and days to sprout. A solid general rule is to plant seeds about twice as deep as they are wide, so tiny lettuce and carrot seeds barely get covered while a bean seed goes down an inch or so. Cover lightly, press the soil down gently, and water with a soft spray so you do not wash seeds away. Keep the top layer of soil evenly moist until sprouts appear. Letting it dry out even once is the number one reason direct-sown seeds fail.
Setting out transplants
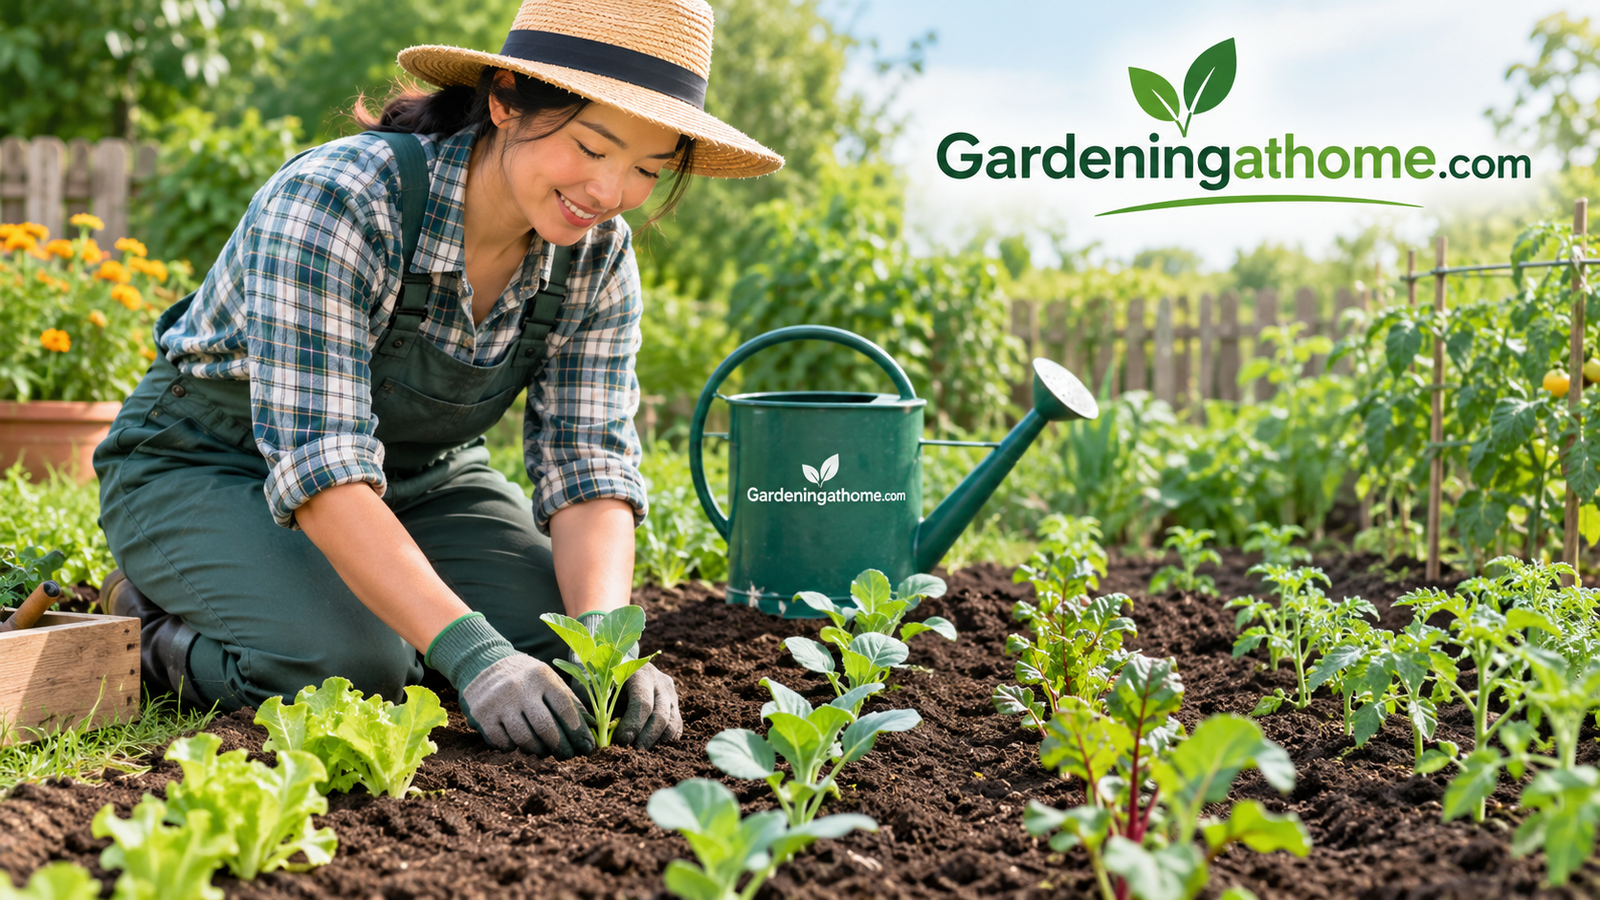
Water the nursery pots an hour before planting. Dig a hole slightly larger than the root ball, ease the plant out by supporting the base of the stem, and tease apart any circling roots. Set it level with the soil surface. Tomatoes are the exception: bury them deeper, up to the first set of true leaves, because the buried stem grows extra roots. Firm the soil around each plant and water immediately.
Harden off before you plant
If your seedlings spent their lives indoors or in a greenhouse, they need a week of gradual exposure to sun and wind first. Set them outside in shade for an hour or two, then lengthen the time each day. Skipping this step often leads to scorched leaves and stalled growth.
Plant labels, twine, and tomato cages keep a new bed organized and supported from day one.
Shop Plant Supports on AmazonWater the Right Way
More vegetable gardens are ruined by watering mistakes than by pests. The goal is deep, consistent moisture in the root zone, not a quick sprinkle that wets the surface and evaporates. Most vegetables need about one inch of water per week from rain and irrigation combined, and more during hot, dry spells or in containers.
Deep and less often beats shallow and daily
Frequent light watering teaches roots to stay near the surface, where they dry out fast. Slow, deep soaking encourages roots to grow down, which makes plants tougher in a dry spell. In a bed with decent soil, watering two or three times a week thoroughly is usually better than a splash every day. Containers are different and may need water daily in summer.
Use the finger test
Push your finger two inches into the soil. If it feels dry, water. If it feels moist, wait. This simple check prevents both extremes. If you are unsure whether drooping leaves mean thirst or too much water, our guide on the signs of overwatering vs underwatering lays out the differences clearly.
Water in the morning, at the base
Morning watering gives plants moisture to face the heat and lets leaves dry before night, which reduces fungal problems. Aim the water at the soil, not the foliage. A soaker hose or drip line is the easiest upgrade you can make, since it delivers water slowly right where roots need it and saves a surprising amount of time.
- Seedlings and new transplants need consistently moist soil.
- Fruiting crops need steady water while flowering and setting fruit. Wild swings can cause cracked tomatoes and blossom end rot.
- Leafy greens wilt and turn bitter if left too dry.
A soaker hose with a simple timer waters the roots, saves effort, and keeps your schedule consistent.
Find Drip Irrigation Kits on AmazonMulch and Feed Your Plants
Mulch is the single best low-effort habit in the vegetable garden. A layer of organic material over bare soil holds moisture, keeps roots cooler, blocks weed seeds from sprouting, and breaks down into more soil food over time. Feeding is the other half: vegetables are hungry plants, and the nutrients in a bed get used up as the season goes on.
Choosing a mulch
Straw, shredded leaves, grass clippings (dried, from untreated lawns), and untreated wood chips all work. Straw suits annual vegetable beds well because it is light and breaks down quickly. Spread two to three inches around plants once the soil has warmed, and keep it a few inches back from stems to prevent rot.
How and when to feed
If you worked compost into the bed, many crops will do fine for weeks. Heavy feeders such as tomatoes, peppers, corn, and squash benefit from a balanced organic fertilizer or a side dressing of compost when they begin to flower or set fruit. Leafy greens like a nitrogen boost earlier on. Always follow label rates, because more is not better and too much nitrogen gives you lush leaves with few fruits.
The same ideas apply to your container plants and houseplants, only in smaller doses and more often. If you want to dig into timing, our piece on how and when to fertilize house plants explains the logic that carries over to any potted garden.
Mulch pros
- Cuts watering needs significantly
- Suppresses weeds
- Moderates soil temperature
- Builds soil as it decomposes
Mulch cons
- Can shelter slugs in wet climates
- Needs topping up each season
- Too thick a layer can smother seedlings
Organic vegetable fertilizer gives heavy feeders steady nutrition through the whole growing season.
Shop Organic Fertilizer on AmazonPests, Weeds and Critters: Staying Ahead of Trouble
Every garden attracts uninvited guests. The trick is to catch problems early and respond in proportion. A few chewed leaves are not a crisis, and a healthy, well-watered plant shrugs off minor damage. You do not need to reach for strong chemicals at the first sign of a hole.
Make walking the garden a daily habit
Spend five minutes each morning looking at your plants, including the undersides of leaves. You will spot aphid clusters, caterpillars, and early disease long before they get out of hand. Many pests can be knocked off with a firm spray of water or picked by hand into a bucket of soapy water.
Common pests and simple fixes
| Problem | Sign | Simple response |
|---|---|---|
| Aphids | Clusters of tiny insects, curled new leaves | Blast with water, use insecticidal soap |
| Slugs and snails | Ragged holes, silvery trails | Hand-pick at dusk, set beer traps, reduce damp mulch near stems |
| Cabbage worms | Green caterpillars on brassicas | Hand-pick, cover with row fabric |
| Powdery mildew | White dusty film on leaves | Improve airflow, water at the base, remove affected leaves |
| Squirrels and rabbits | Dug-up seedlings, nibbled plants | Fencing, netting, or barriers |
Larger animals can be the most frustrating. If squirrels are digging up your seedlings or stealing ripe tomatoes, read our practical tips on how to keep squirrels out of the garden.
Beat weeds before they beat you
Weeds are most manageable when small. Pull them after rain when roots slide out easily, and do a quick patrol weekly rather than a marathon monthly. Mulch handles most of the work, and tight plant spacing shades out the rest. Keep a hand weeder nearby and always remove weeds before they set seed, because one seed head can create hundreds of new plants.
Invite the good bugs
Ladybugs, lacewings, hoverflies, and bees are your allies. Planting a few flowers such as marigolds, alyssum, or zinnias at the edge of the bed attracts pollinators and predators that keep pests in check. Skip broad-spectrum sprays, which kill the helpers along with the pests.
Lightweight row cover and garden netting stop many pests physically, with no spraying at all.
Shop Pest Protection on AmazonHarvesting and Keeping the Garden Going
Harvest is where all that effort turns into dinner, and knowing when to pick makes a real difference in flavor. Most vegetables taste best when slightly young. Zucchini grows tender at six to eight inches and turns watery and seedy if it balloons to the size of a baseball bat. Beans should snap crisply. Lettuce can be picked leaf by leaf from the outside while the center keeps growing.
Harvest often to boost production
For crops like beans, cucumbers, peas, and zucchini, frequent picking signals the plant to keep flowering. Letting fruit overripen on the vine tells the plant its job is done. Check beds every day or two during peak season, and use pruners or scissors rather than yanking, which can damage the stem.
Succession planting for a longer season
Instead of planting a whole row of lettuce at once, sow a short row every two weeks. You will have a steady supply instead of a glut followed by nothing. Once early crops like peas or radishes finish, fill the space with a second crop, such as beans or fall greens. This is how small gardens produce surprisingly large amounts of food.
Rotate and rest
Avoid planting the same family of vegetables in the same spot year after year. Rotating tomatoes, peppers, and potatoes (all nightshades) to new beds reduces disease build-up. At the end of the season, remove spent plants, add a fresh layer of compost, and consider a cover crop or a thick mulch to protect the soil over winter.
Dreaming bigger
If the bug bites and you start wondering how far you could take this, there is a whole world of growing food at a larger scale. Our article on what is market gardening explains how some growers turn a few intensive beds into income.
Sharp harvest snips and a sturdy harvest basket make picking faster and kinder to your plants.
Shop Harvest Tools on AmazonCommon Mistakes, Smart Budgeting and Small-Space Tips
Almost every gardener makes the same early errors. Knowing them in advance lets you skip the frustration and get to the good part faster.
Mistakes to avoid
- Starting too big. A small, tended bed produces more than a large, neglected one.
- Ignoring sunlight. No amount of fertilizer replaces light.
- Planting too early. A late frost can wipe out warm-season crops in one night. Wait until your last frost date has passed.
- Overcrowding. Those tiny seedlings will become big plants. Respect the spacing on the tag.
- Inconsistent watering. Skipping a week then flooding the bed stresses plants and splits fruit.
- Skipping soil prep. Poor soil causes problems that no later fix fully reverses.
- Giving up after one failure. Every gardener loses plants. Note what happened and adjust.
Starting on a budget
You do not need to spend a fortune. Buy seeds instead of transplants for most crops, make your own compost from kitchen scraps and leaves, build beds from reclaimed untreated lumber, and use buckets or fabric grow bags for containers. Share tools and seeds with neighbors, and swap extra seedlings. Spend your money where it matters most: soil, a reliable hose or watering setup, and one good pair of pruners.
Making the most of small spaces
Grow up, not out. Trellises for peas, pole beans, and cucumbers use vertical space and keep fruit clean and easy to spot. Interplant quick crops such as radishes between slow growers such as peppers. Use railings, hanging baskets, and wall planters for herbs and salad greens. A sunny doorstep with three big pots can feed you more than you would expect.
Protecting your hands and back
Gardening is gentle, but hours of kneeling and digging add up. A kneeling pad, tools with comfortable handles, and good gloves make every session more pleasant. Raised beds at a comfortable height also reduce bending significantly.
A cushioned kneeler or garden stool turns long planting sessions from a chore into a pleasure.
Shop Garden Kneelers on AmazonFrequently Asked Questions
How big should my first vegetable garden be?
A four by eight foot bed, or about 32 square feet, is an ideal starting size. It is large enough to grow a good variety of crops and small enough to manage in an hour or two a week. You can always add a second bed next season.
When is the best time to start a vegetable garden?
Start planning in late winter, plant cool-season crops in early spring, and put warm-season crops in after your last frost date. You can also start in late summer for a fall garden of greens, radishes, and carrots.
How much sun does a vegetable garden need?
Most vegetables want six to eight hours of direct sun daily. Fruiting crops like tomatoes and peppers need the most. Leafy greens, herbs, and some root crops tolerate four to six hours.
What are the easiest vegetables for beginners?
Radishes, lettuce, bush beans, zucchini, cherry tomatoes, and herbs are all forgiving and productive. They grow quickly, tolerate small mistakes, and give you a fast sense of success.
Do I need a raised bed to start a vegetable garden?
No. Raised beds are helpful if your soil is poor or compacted, but you can grow vegetables directly in the ground or in containers. The key is loose, fertile soil with good drainage, however you create it.
How often should I water a new vegetable garden?
Aim for about one inch of water per week, delivered in two or three deep soakings. New seeds and transplants need more frequent moisture until established. Check the soil with your finger and water when the top two inches feel dry.
What kind of soil is best for vegetables?
Loose, crumbly, nutrient-rich loam with plenty of organic matter is ideal. Mixing two to three inches of compost into your existing soil improves almost any soil type. Aim for a pH between 6.0 and 7.0.
Should I start from seeds or buy plants?
Both work. Direct-sow carrots, radishes, beans, peas, and squash. Buy transplants for tomatoes and peppers, which need a long head start. Mixing the two is the easiest approach for beginners.
How do I keep weeds out of my vegetable garden?
Mulch two to three inches deep, space plants closely enough to shade the soil, and pull weeds when they are small. Removing weeds before they flower prevents them from spreading seeds.
Can I grow vegetables without a yard?
Absolutely. Containers, grow bags, and railing planters on a sunny balcony or patio can produce tomatoes, peppers, herbs, and greens. Choose compact varieties and use large pots with good drainage.
How do I protect my vegetables from pests naturally?
Inspect plants daily, hand-pick larger pests, spray aphids off with water, use row covers and fencing, and plant flowers that attract beneficial insects. Healthy plants in good soil resist pests better.
Why are my vegetable plants not producing?
Common causes include too little sun, too much nitrogen, uneven watering, extreme heat, or a lack of pollinators. Check light first, then watering consistency, then feeding. Planting flowers nearby can boost pollination.
Conclusion: Your First Harvest Is Closer Than You Think
Starting a vegetable garden comes down to a handful of good decisions made in the right order. Choose a sunny spot, pick a style and size you can manage, gather a few quality tools, build rich soil, plant easy crops with proper spacing, water deeply, and mulch. Then watch, learn, and adjust. You do not need a green thumb, only attention and a willingness to try again when something goes sideways.
Start small this season. Plant what you love to eat. Take notes. By next year, you will know your yard better than any book could teach you, and your garden will grow right along with your confidence.
Ready to get your hands in the soil? Gather your starter supplies today and plant something this week.
Shop Garden Starter Supplies on Amazon
Pingback: How to Keep Squirrels Out of Your Garden: 8 Steps