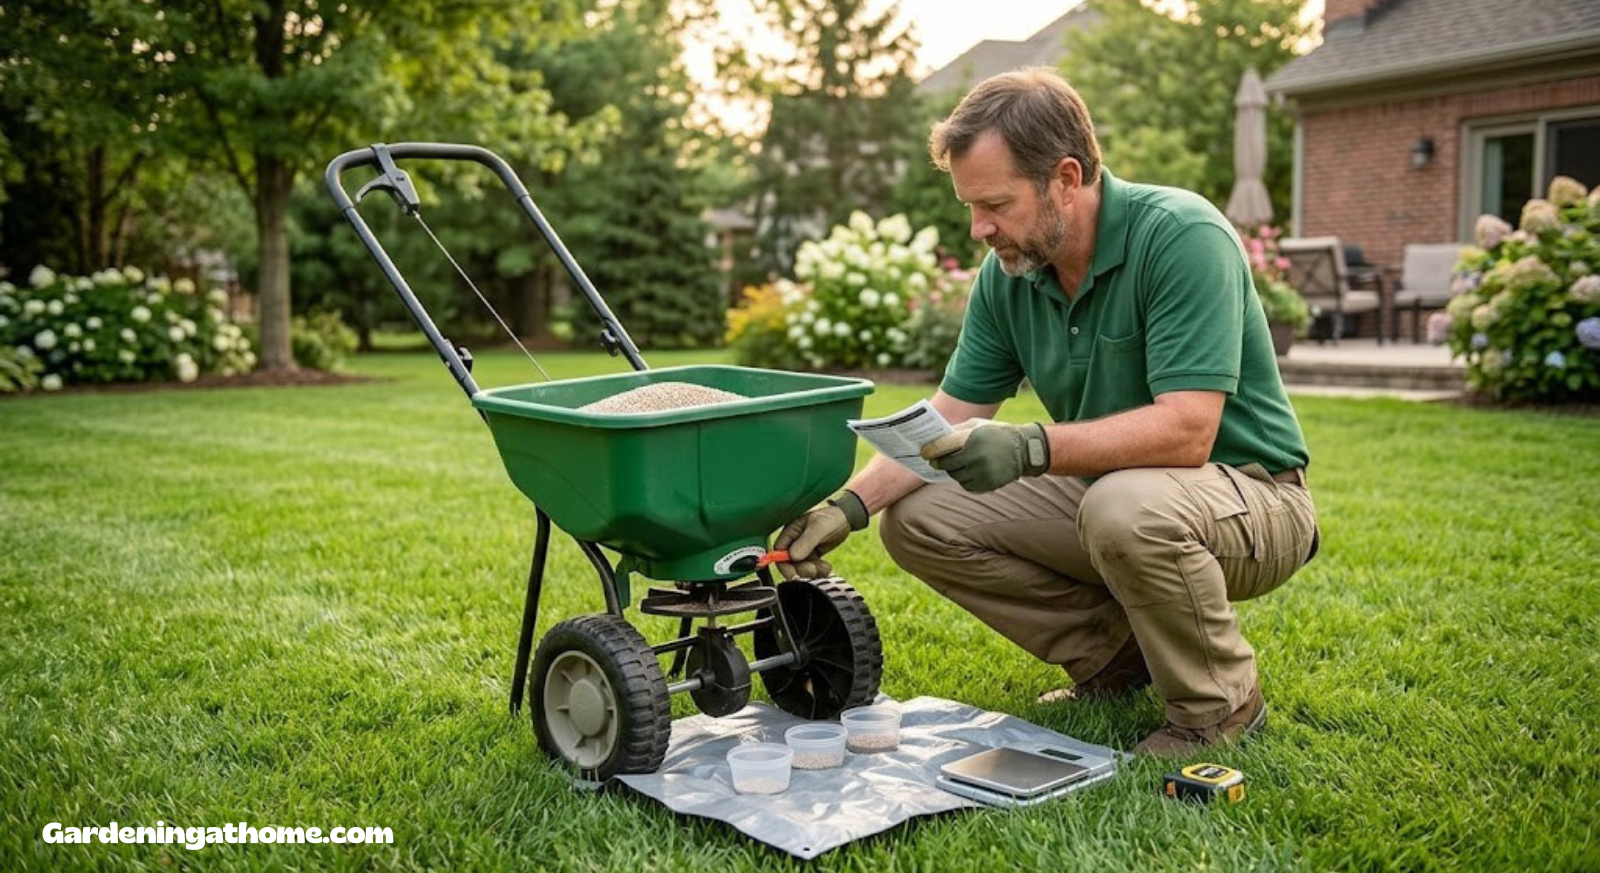
How to Calibrate a Spreader: The Complete Step-by-Step Guide
Stop guessing at settings. Learn the exact process professional lawn crews use to calibrate any broadcast or drop spreader for perfectly even seed, fertilizer, and ice melt coverage every time.
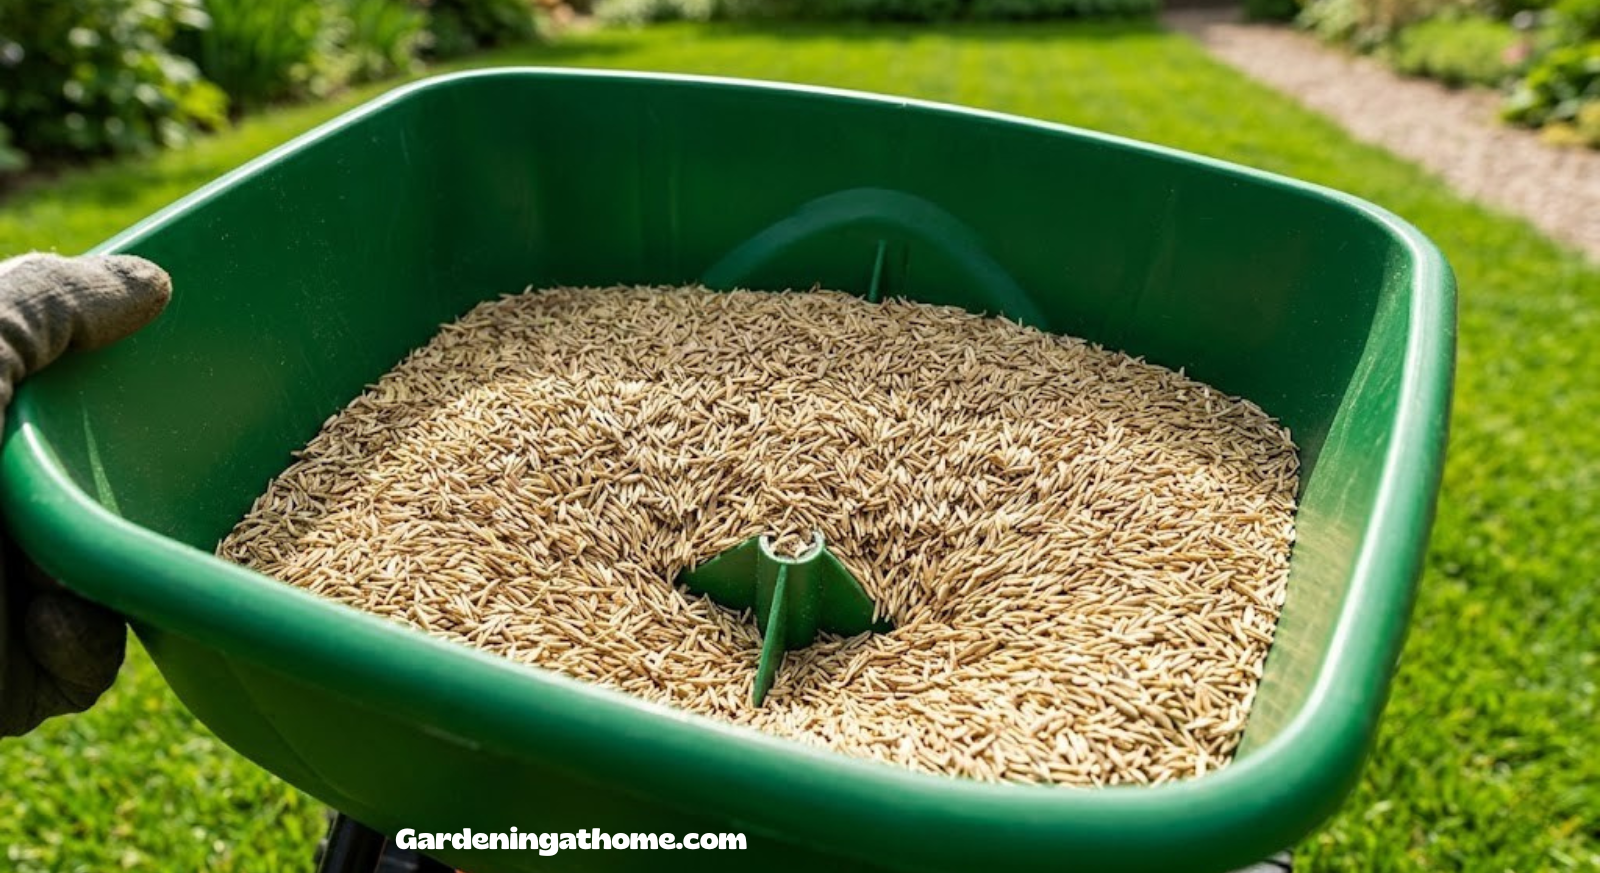
A properly calibrated spreader is the difference between a uniform, healthy lawn and one full of streaks, stripes, and bare patches.
Why Spreader Calibration Matters
Every bag of grass seed, fertilizer, or ice melt comes with a printed application rate for a reason. Manufacturers spend years testing exactly how many pounds per thousand square feet a lawn needs to green up without burning, or how much seed density produces a thick stand of turf without wasting half the bag on overlap. That number only means anything if the machine spreading the product is actually delivering it at that rate. A spreader straight out of the box, or one that’s been sitting in the garage for a season, is almost never dialed in correctly for your specific product, your walking speed, or the terrain of your yard.
Calibration is the process of testing and adjusting your spreader’s settings so the actual output matches the target rate on the bag. Skip this step and you’re rolling the dice every time you feed your lawn. Too light a setting and you’ll see thin, patchy growth or a lawn that never quite reaches the color your neighbor’s does. Too heavy a setting and you risk fertilizer burn, seed clumping that wastes money, or ice melt that damages concrete and landscaping. Neither mistake is cheap, and both are entirely avoidable with fifteen to twenty minutes of upfront testing.
There’s also a consistency problem that calibration solves. The little numbered dial on most spreaders (a “3” or a “7” or a “12,” depending on the brand) is not a universal unit of measurement — it’s a proprietary setting that varies from manufacturer to manufacturer and even from product to product within the same brand. A setting of “5” on an Earthway broadcast spreader does not deliver the same amount of material as a “5” on a competitor’s model. Bag instructions try to bridge this gap with a generic settings chart, but those charts assume average conditions: dry granules, a level lawn, and a walking pace of about three miles per hour. Your actual walking speed, the humidity of the day, and even how full the hopper is can all shift the real output. Calibration accounts for your equipment and your habits instead of someone else’s average.
If you’re still shopping for equipment, our guide to the best lawn seed spreaders breaks down which models calibrate most predictably and hold their settings best over time. But whether you already own a spreader or are about to buy one, the calibration process below applies to virtually any broadcast or drop model on the market.
It’s also worth thinking about calibration as a cost-control measure, not just a lawn-health measure. A typical bag of fertilizer or seed is priced to cover a specific number of square feet at the manufacturer’s recommended rate. If your spreader is running heavy without your knowledge, you’re burning through product faster than expected and will come up short before the whole lawn is covered, forcing an extra trip to the store mid-project. If it’s running light, you might assume the bag simply wasn’t enough for your yard when in reality the machine just wasn’t releasing enough material per pass. Either scenario distorts your sense of how much product a given lawn actually needs, which compounds into bigger budgeting mistakes over a full season of feeding, seeding, and winter de-icing.
There’s a seasonal dimension to this too. Spring green-up fertilizer, summer grub control, fall overseeding, and winter ice melt all run through the same machine at different times of year, often with long gaps of storage in between. A spreader that sat in an unheated garage over the winter can develop stiffness in the gate spring or light corrosion on the impeller shaft, both of which subtly change output even if the dial position looks identical to last year. Treating calibration as a seasonal ritual — a quick fifteen-minute check before the first application of each new phase — keeps small mechanical drift from turning into a lawn full of stripes.
Finally, calibration matters more than most homeowners expect because visual feedback on a lawn is slow and easy to misread. Unlike, say, painting a fence where a mistake is obvious immediately, an under- or over-applied lawn treatment often doesn’t show its effects for one to three weeks. By the time streaking, burn, or patchy growth becomes visible, it’s too late to simply adjust the dial and redo the pass — the damage, or the missed opportunity, has already set in. Calibrating before you start is the only way to catch a rate problem before it becomes a lawn problem.
Understanding Your Spreader Type Before You Calibrate
Calibration steps differ slightly depending on whether you own a broadcast (rotary) spreader or a drop spreader, so it helps to know which category your machine falls into before you start testing.
Broadcast (Rotary) Spreaders
Broadcast spreaders use a spinning disc, or impeller, mounted underneath the hopper to fling granules outward in a wide fan pattern, typically covering six to twelve feet per pass depending on the model and setting. They’re fast and forgiving of minor overlap, which makes them the go-to choice for most homeowners covering a standard-size yard. Push models, tow-behind models like the popular Agri-Fab pull-behind broadcast spreader, and handheld units all fall into this category. If you’ve never operated one before, our guide to using a broadcast spreader is a useful companion to this article.
Drop Spreaders
Drop spreaders release material straight down through a row of holes along the bottom of the hopper, covering only the width of the machine itself, usually 18 to 24 inches. There’s no flinging or fan pattern, which means precision is much higher and the risk of overlap onto sidewalks, flowerbeds, or a neighbor’s property is much lower. Drop spreaders are the preferred tool for small or oddly shaped yards, for applying pre-emergent herbicides where drift matters, and for anyone who wants tight edge control.
Handheld and Hand-Crank Spreaders
Smaller handheld or hand-crank spreaders are common for spot treatments, small lots, or steep terrain that a wheeled unit can’t navigate safely. They calibrate using the same core principles as full-size broadcast spreaders, just scaled down, and with more variability introduced by the operator’s crank speed.
Whichever type you own, the calibration logic is the same: determine how much product the machine actually releases at a given setting and speed, compare that to the target rate, and adjust until the two match.
Push vs. Tow-Behind vs. Handheld: Why Format Changes Your Approach
Beyond the broadcast-versus-drop distinction, the physical format of your spreader changes a few practical details of calibration. Push spreaders are the most common residential format and are the easiest to control at a steady pace because you’re setting the walking speed directly with your own legs. Tow-behind units, hitched to a riding mower or garden tractor, move at whatever ground speed the vehicle maintains, which is often faster and more consistent than a human stride — this generally means tow-behind spreaders need a slightly different dial setting than a push spreader would for the same product, even if both machines share a similar hopper and gate design. Handheld spreaders, whether hand-crank or battery-powered, introduce the most operator variability, since crank speed or trigger pressure is harder to keep perfectly consistent across a whole test run.
If you operate more than one format — say, a push spreader for the front yard and a tow-behind for a large back acreage — treat them as two entirely separate machines for calibration purposes. Never assume a dial setting transfers between formats, even from the same manufacturer and even for the identical product.
New vs. Used Spreaders
A brand-new spreader out of the box is not automatically accurate. Manufacturing tolerances mean two units of the identical model can have slightly different gate openings or impeller speeds. A used spreader, meanwhile, often has wear patterns — a stretched gate spring, a slightly bent impeller fin, or accumulated rust in the gate track — that shift its real output away from the factory specification printed on the dial. Neither situation is a reason for concern, but both are reasons to always calibrate rather than trust the dial numbers blindly, regardless of how old or new the machine is.
Tools & Materials You’ll Need
Gather these items before you start so you’re not interrupting the process halfway through:
- Your spreader, clean and in working condition
- The product you plan to apply (seed, fertilizer, or ice melt) with its label intact
- A kitchen or postal scale accurate to at least one ounce
- A 100-foot tape measure or a measuring wheel
- Marking flags, chalk, or spray paint to mark test boundaries
- A large tarp, painter’s canvas drop cloth, or several sheets of cardboard for catch testing
- A calculator or a notes app on your phone
- A notebook to record settings for future use
A few of these items are worth a little extra attention before you begin. The scale doesn’t need to be a laboratory-grade instrument, but it should read consistently — test it twice with the same object to make sure it isn’t drifting between measurements. For the tarp, avoid dark-colored materials if you’re testing seed, since light-colored granules can be hard to spot and fully collect against a dark background; a light canvas drop cloth or a few flattened cardboard boxes usually works better for visibility. If you’re testing on a windy day, weigh down the corners of the tarp with bricks or stakes so a gust doesn’t scatter your sample before you can collect it, which would throw off your entire calculation.
It also helps to do a dry run of your walking pace before loading any product into the hopper. Walk the length of your intended test area once with the empty spreader, timing yourself, so you have a mental sense of the cadence you’re aiming to reproduce during the actual test and later during full-lawn application. Consistency between these two moments — test day and application day — is what makes a calibration trustworthy.
Read the Label and Find the Target Setting
Start with the bag. Every seed, fertilizer, and ice melt product includes an application rate, almost always expressed in pounds per 1,000 square feet, along with a settings chart that lists suggested dial numbers for major spreader brands. Locate your specific spreader brand on that chart, or the closest equivalent if your model isn’t listed by name. Write down both the suggested starting setting and the target pounds-per-1,000-square-feet rate — you’ll need the second number later to check your math.
If the chart doesn’t list your spreader at all, don’t panic. Manufacturer charts are only a starting point anyway; the goal of calibration is to verify the real output regardless of what the chart claims, so an approximate starting point in the middle of the dial range works fine.
Measure Your Spreader’s Effective Width
Before running any material, determine how wide a swath your spreader actually covers per pass. For broadcast spreaders, this is the effective spread width — the usable, evenly-covered portion of the fan pattern, which is typically narrower than the maximum throw distance because material thins out toward the edges. For drop spreaders, it’s simply the physical width of the hopper opening, which you can measure directly with a tape measure.
To find effective width on a broadcast spreader, run it briefly over a dry driveway or a stretch of pavement and observe where the granules land densely versus where they thin to almost nothing. Measure from the centerline of the machine to the point where coverage becomes sparse, then double it for the total effective width. Most residential broadcast spreaders land somewhere between 6 and 10 feet of effective width, even if the manufacturer advertises a wider maximum throw.
Drop spreaders skip this ambiguity entirely — measure the opening width once and record it, since it won’t change between products.
Run the Catch Test
The catch test is the heart of calibration. Lay a tarp, canvas drop cloth, or several sheets of cardboard down on a flat section of lawn or driveway, wide enough to catch a full pass of your spreader at the effective width you measured in Step 2. Fill the hopper with a known, weighed amount of product — a good starting point is one to two pounds for a broadcast spreader or half a pound for a drop spreader. Set the dial to your Step 1 starting position, then walk at a steady, natural pace across the tarp with the spreader engaged, just as you would during a normal application.
Once you’ve crossed the tarp, close the spreader and carefully sweep or pour the caught material back into a container. Weigh what landed on the tarp versus what you started with, and note the difference — that’s the amount actually released over the tarp’s known length and your spreader’s effective width.
Do a Full Tarp Test Run
One short pass gives you a rough sense of output, but a longer test run produces more reliable numbers because it smooths out small variations in walking speed and hopper fullness. Extend your test area to a measured 50 or 100 feet, marked clearly with flags at both ends, and lay tarps or cardboard along the entire path if possible. If you don’t have enough material to cover the full length, tarps at the start, middle, and end of the run give you a representative sample.
Walk the full length at the same pace you’d use on your actual lawn, keeping the dial at your Step 1 setting throughout. This longer run is especially important for drop spreaders, since their narrower coverage width means small inconsistencies show up more visibly as gaps or double-coverage stripes.
Calculate the Rate and Adjust the Setting
Now do the math. First, figure out the square footage you covered: multiply the length you walked by your spreader’s effective width. A 100-foot run at 7 feet of effective width covers 700 square feet. Next, take the weight of material you caught and released over that stretch, and convert it to a per-1,000-square-foot rate using this formula:
Actual Rate = (Weight Released ÷ Square Feet Covered) × 1,000
So if you released 2.1 pounds over that 700 square feet, your actual rate is (2.1 ÷ 700) × 1,000 = 3.0 pounds per 1,000 square feet. Compare that number to the target rate from the bag. If your target was 3.5 pounds per 1,000 square feet, you’re running about 14% light, and the dial needs to move up slightly. If you’d come in at 4.2 pounds, you’d be about 20% heavy and need to dial down.
Adjust the dial one notch in the appropriate direction, then repeat the catch test from Step 3 with the new setting. Most spreaders need two or three rounds of small adjustments before the actual rate lands within about 5% of the target — close enough for real-world lawn care, where perfect precision isn’t necessary but consistency is.
Fine-Tune With a Second Confirmation Pass
Once your calculated rate is close to the target, run one more confirmation pass at the new setting, ideally over a fresh tarp so you’re not working with residual material from earlier tests. This final check confirms the adjustment held and that nothing shifted, such as a clogged gate or a setting that crept during handling. If the numbers line up within roughly 5%, you’re calibrated and ready to treat the whole lawn. If they’re still off, repeat Steps 3 through 5 one more time — most spreaders converge on an accurate setting within three test cycles.

Check Price on Amazon
Broadcast vs. Drop Spreader Calibration Differences
While the underlying math is identical, a few practical differences separate calibrating a broadcast spreader from calibrating a drop spreader, and it’s worth understanding both before you commit to a testing method.
| Factor | Broadcast Spreader | Drop Spreader |
|---|---|---|
| Coverage width | Variable, must be measured (6–12 ft) | Fixed, matches hopper opening |
| Overlap tolerance | Forgiving, slight overlap blends in | Low, overlap causes visible striping |
| Edge precision | Lower, product can drift onto beds/walks | High, product drops straight down |
| Best for | Large, open lawns | Small lawns, precise borders, herbicides |
| Calibration speed | Faster, fewer passes needed | Slower, requires tighter walking lanes |
| Wind sensitivity | High | Minimal |
Broadcast Spreader Strengths
- Covers ground quickly on large properties
- Forgiving of minor walking-speed changes
- Wide range of tow-behind options for big lots
Broadcast Spreader Trade-offs
- Wind can push light granules off target
- Effective width must be measured, not assumed
- Risk of overspray onto driveways or beds
Common Calibration Mistakes and How to Fix Them
Skipping the Catch Test Entirely
The single most common mistake is trusting the settings chart on the bag without ever verifying it. Charts are averages across many machines and conditions; your specific spreader, even a brand-new one, can be off by 15–30% out of the box. Always run at least one catch test before treating the full lawn, especially the first time you use a new bag of product or a new spreader.
Testing With a Half-Empty Hopper
Output on many gravity-fed spreaders changes slightly as the hopper empties, since less material sits on top pressing down through the gate. Test with a hopper fill level similar to what you’ll actually use during application, and avoid calibrating right at the very end of a near-empty hopper.
Walking Too Fast or Too Slow During Application
Calibration only holds if your application-day walking pace matches your test-day pace. Practice a steady, natural walking speed during calibration, then consciously maintain that same pace across the whole lawn. A rushed pass toward the end of a big yard can under-apply material even on a perfectly calibrated machine.
Forgetting to Recalibrate for a New Product
Granule size, density, and shape vary widely between seed blends, fertilizer formulas, and ice melt products. A setting dialed in for one bag of fertilizer will not necessarily be correct for a different brand or a different product entirely, even from the same manufacturer. Treat every new bag as a reason to double-check your setting.
Ignoring Humidity and Moisture
Damp granules clump and flow differently than dry ones, throwing off both catch tests and real application. Calibrate and apply on a dry day whenever possible, and store product in a sealed container to keep it flowing consistently.
Not Accounting for Slopes and Turns
Calibration tests are typically run on flat, straight ground, but real lawns have slopes, curves, and obstacles. On hills, gravity can slightly increase output on downhill stretches; during turns, the inside wheel of a wheeled spreader may slow or stop while the mechanism keeps releasing material, causing localized over-application. Slow down and consider disengaging the spreader briefly during tight turns.
Assuming the Whole Bag Is Uniform
Larger bags of granular product, especially fertilizer that’s been stored for a season or two, can settle unevenly, with finer particles sinking to the bottom and coarser granules staying near the top. If your catch test happened to sample only the top of a freshly opened bag, the flow characteristics — and therefore the accurate dial setting — might shift slightly by the time you’re using material from deeper in the bag. Give the bag a gentle mix or rotate it before filling the hopper, particularly with older stock.
Confusing the Dial Number With a Universal Standard
It’s tempting to remember “setting 6 worked great last year” and apply that same number to a completely different spreader or product without re-testing. Dial numbers are not standardized units of measurement across brands, models, or even product lines from the same brand — they’re simply a proprietary index for that specific gate mechanism. Treat every new product-and-machine combination as its own calibration project, and only rely on a remembered number once you’ve verified it applies to the exact same pairing you used before.
Calibrating for Different Products
Calibration principles stay the same across product types, but a few specifics are worth knowing for each.
Grass Seed
Seed is lightweight and often calibrated on the lower end of the dial range. Because seed-to-soil contact matters more than raw density for germination, slight under-application is usually safer than over-application, which can lead to overcrowded, weak seedlings competing for light and nutrients. If you’re planning a full lawn renovation, our guides on spreading grass seed evenly and overseeding a lawn with a spreader walk through pattern and timing in more detail, and choosing the best time to spread grass seed will help you plan around your local climate.
Granular Fertilizer
Fertilizer calibration carries the highest stakes, since over-application is a leading cause of lawn burn and can also run off into storm drains, contributing to nutrient pollution in local waterways. Always err toward slightly under-target on your first pass, then apply a light second pass later in the season rather than risking a hot, overloaded first treatment.
Ice Melt and De-Icing Granules
Ice melt products are denser and heavier than seed or fertilizer, so they typically require a much lower dial setting to hit the same weight-based rate. Over-application wastes product and can damage concrete, grass, and nearby plants when the runoff carries excess salt into the soil come spring.
Maintenance Tips to Keep Calibration Accurate Season After Season
A spreader that’s calibrated once but never maintained will slowly drift out of accuracy as gears wear, gates get gunked up with residue, and springs lose tension. A few habits keep your settings trustworthy for years:
- Rinse and dry the hopper and gate mechanism after every use, especially after applying fertilizer or ice melt, both of which are corrosive to metal components.
- Store the spreader with the gate fully closed to avoid warping the spring or leaving debris packed in the opening.
- Lubricate wheel axles and gear mechanisms at the start of each season.
- Re-run a quick catch test at the start of each new season, even if you calibrated carefully last year — real-world wear and residue buildup can shift output over time.
- Check the impeller (broadcast spreaders) or agitator (drop spreaders) for bent fins or clogs, which throw off distribution even at a correct dial setting.
For a deeper walkthrough of cleaning technique, see our guide on how to clean a lawn spreader, which covers seasonal storage prep in more detail. And if you’re still deciding between a push, tow-behind, or handheld unit, our broader roundup of the best lawn seed spreaders compares calibration ease across popular models.

Check Price on Amazon
Frequently Asked Questions
How often should I calibrate my spreader?
Calibrate whenever you switch products, at the start of each new season, and any time your spreader has been repaired or stored for an extended period. If you’re using the same bag of product repeatedly within a season, you generally only need to calibrate once.
What if I don’t have a scale to weigh material?
A basic kitchen or postal scale accurate to an ounce is inexpensive and worth buying if you calibrate more than once a season. In a pinch, you can use volume measurements with a marked measuring cup instead of weight, though the accuracy will be lower.
Do handheld spreaders need calibration too?
Yes. Handheld and hand-crank spreaders follow the same catch-test principle, though crank speed introduces more variability than a walking pace does. Practice a steady crank rhythm during testing and try to replicate it during application.
Why is my spreader applying unevenly even after calibration?
Uneven application after calibration usually points to a mechanical issue rather than an incorrect setting — a bent impeller fin, a partially clogged gate, or inconsistent walking speed across the lawn are the most common culprits. Inspect the spreader for physical wear before assuming the setting itself is wrong.
Can I use the same calibration for seed and fertilizer?
No. Different products have different granule sizes, shapes, and densities, all of which affect how they flow through the gate. Always re-run a quick catch test when switching between product types, even on the same machine.
Does wind affect calibration accuracy?
Wind primarily affects broadcast spreaders, since it can push lightweight granules off their intended path mid-air. Calibrate and apply on calm days when possible, and consider a drop spreader for windy conditions or areas near sensitive borders like flowerbeds or sidewalks.
What’s a normal margin of error for calibration?
Getting within about 5% of the target rate is considered accurate for residential lawn care. Commercial applicators often aim tighter, but for a home lawn, a small margin won’t produce noticeable results in either direction.
Should I calibrate on grass or on a hard surface?
Hard, flat surfaces like a driveway or garage floor make it much easier to see and collect granules accurately for a catch test. If you must test on grass, use a tarp or cardboard sheet underneath to prevent product from disappearing into the thatch layer.
Is it possible to over-calibrate and waste time?
Two or three test-and-adjust cycles are typically enough to land within an acceptable margin. Chasing perfect precision beyond that point offers diminishing returns for a home lawn and isn’t worth the extra time.
Do I need to recalibrate for a different lawn size?
No — calibration is based on rate per square foot, not total lawn size. Once your spreader is dialed in for a product, the same setting applies whether you’re treating a small front yard or several acres; just track your total square footage to know how much product to buy.
What’s the difference between calibration and just following the bag’s chart?
The bag’s chart is a generic average across many spreader models and testing conditions. Calibration verifies your specific machine’s real-world output, which is often meaningfully different from the chart, especially on older or heavily used spreaders.
Can incorrect calibration damage my lawn?
Yes. Over-application of fertilizer is a common cause of chemical burn, showing up as yellow or brown streaking within days. Under-application of seed produces thin, patchy germination. Both problems are avoidable with a proper calibration pass before full application.
Get It Right the First Time
Calibrating a spreader takes fifteen or twenty extra minutes the first time you use a new product, but it pays for itself in even germination, healthy green color, and a bag of product that goes exactly as far as it’s supposed to. Once you’ve logged a reliable setting for your spreader and your favorite fertilizer or seed blend, future applications become fast and worry-free — no more guessing, no more streaky lawns, no more wasted product.
Shop Top-Rated Spreaders on Amazon