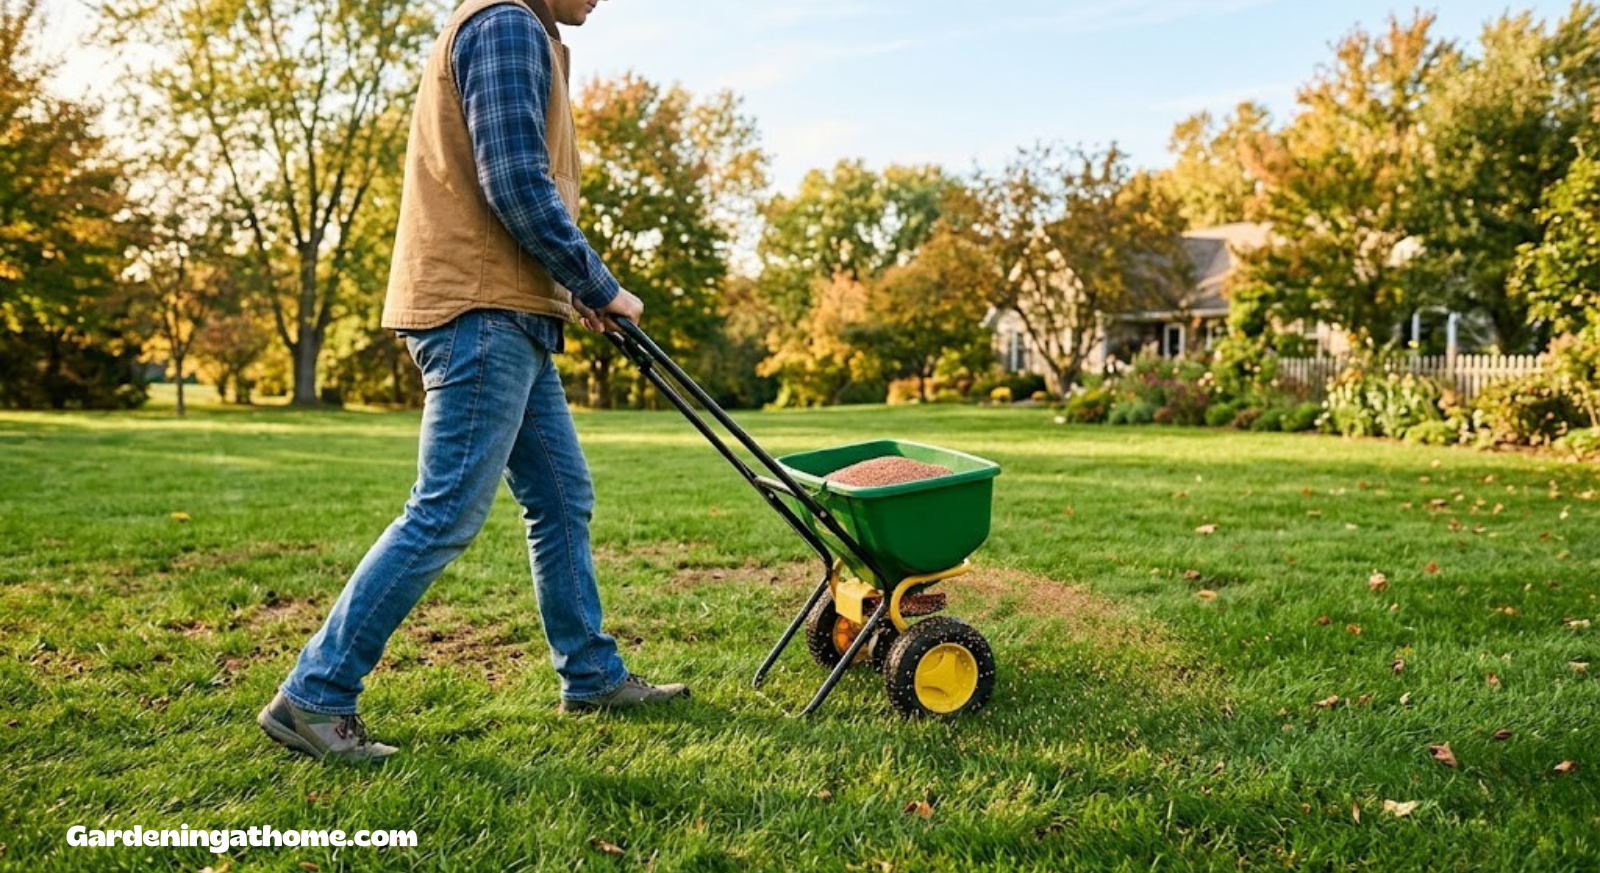
How to Overseed a Lawn With a Spreader (Step-by-Step, No Guesswork)
A complete, tool-by-tool walkthrough for turning a thin, patchy, tired-looking lawn into a thick, uniform stand of grass — using nothing more exotic than a spreader, the right seed, and a little patience.

Why Overseed With a Spreader in the First Place?
If your lawn has gone thin in patches, looks pale after a rough summer, or has been slowly losing ground to weeds, overseeding is the single most effective fix that doesn’t involve tearing everything out and starting over. Overseeding simply means introducing new grass seed into an existing lawn so the new seedlings fill in bare and thinning spots, thicken the turf, and — over a season or two — crowd out weeds through sheer density.
A spreader matters more than most homeowners realize. Hand-tossing seed feels quick, but it almost never distributes seed evenly. You end up with dense clumps in some areas and bare gaps in others, which later shows up as visible stripes or patches of different grass density. A spreader, whether it’s a small handheld unit or a tow-behind model, meters seed out at a controlled rate so every square foot of lawn gets roughly the same number of seeds. That consistency is what separates a lawn that looks intentionally lush from one that looks patchy and uneven.
Beyond appearance, overseeding with a spreader also lets you control your seeding rate precisely, which matters for germination success. Too few seeds per square foot and you’re wasting the effort — the new grass won’t be dense enough to compete with weeds. Too many seeds and the seedlings compete with each other for water, light, and nutrients, resulting in weak, spindly growth. A properly calibrated spreader keeps you inside the sweet spot recommended on your seed bag.

Not sure which spreader to buy first?
Our complete guide to the best lawn seed spreaders compares handheld, broadcast, and drop models side by side so you can match the tool to your lawn size and budget.
Check Current Price on AmazonBest Time to Overseed Your Lawn
Timing has an outsized effect on how well overseeding works, arguably more than any single technique in this guide. Grass seed needs consistent soil moisture and moderate temperatures to germinate reliably, and it needs enough growing weeks afterward for young seedlings to develop roots deep enough to survive extreme heat or cold.
For cool-season grasses such as Kentucky bluegrass, perennial ryegrass, and fescue, early autumn is widely considered the ideal window. Soil is still warm from summer, which speeds germination, while air temperatures are cooling, which reduces stress on tender seedlings and cuts down on weed competition. A secondary, shorter window exists in early spring, though spring seeding tends to compete more with crabgrass and other summer annual weeds.
Warm-season grasses like Bermuda, zoysia, and centipede behave the opposite way — they green up and root fastest when soil temperatures are climbing, so late spring into early summer is the better target.
| Grass Type | Best Season | Ideal Soil Temp | Germination Window |
|---|---|---|---|
| Kentucky Bluegrass | Early Fall | 50–65°F | 14–30 days |
| Perennial Ryegrass | Early Fall / Spring | 50–65°F | 5–10 days |
| Tall Fescue | Early Fall | 55–65°F | 7–14 days |
| Bermuda | Late Spring | 65–75°F | 10–14 days |
| Zoysia | Late Spring | 70–80°F | 14–21 days |
For a deeper look at regional timing and how to read your own soil rather than relying on a generic calendar date, see our dedicated guide on the best time to spread grass seed.
Tools & Materials You’ll Need
Essential Items
- A broadcast or drop spreader
- Grass seed matched to your climate and sun exposure
- Starter fertilizer (seed-safe, low weed-killer content)
- A leaf rake or dethatching rake
- A garden hose with a sprinkler or oscillating attachment
Nice-to-Have Items
- Core aerator (rented or handheld)
- Lawn roller
- Straw mulch or seeding mat for slopes
- Soil test kit
- Kitchen scale for calibration testing
You don’t need every item on the second list to get a good result, but each one reduces effort or improves your odds, especially on compacted, heavily-thatched, or sloped lawns.
Choosing the Right Spreader for Overseeding
Not every spreader is a good match for every lawn. Handheld crank spreaders are inexpensive and fine for lawns under roughly 1,000 square feet, but their coverage pattern is inconsistent because it depends entirely on how steadily you crank and walk. Walk-behind broadcast spreaders throw seed in a wide fan pattern and are the most popular choice for typical residential lawns, usually somewhere between a quarter acre and a full acre. Walk-behind drop spreaders release seed directly beneath the hopper in a narrow, precise band — slower to use, but far less prone to seed drifting onto driveways, flower beds, or a neighbor’s yard.
For very large properties, tow-behind broadcast spreaders that attach to a riding mower or ATV cover ground fastest, though they sacrifice some precision near edges and obstacles.
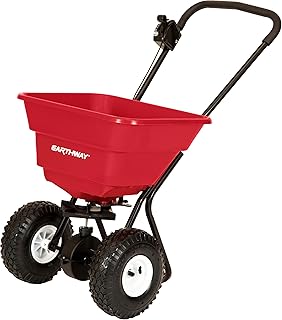
Popular pick for mid-size lawns
Read our full Earthway 2050P 80lb broadcast spreader review for a breakdown of hopper capacity, throw width, and calibration ease.
See Price on AmazonIf you’re covering a very large lawn or an acreage property, a pull-behind model attached to a tractor or riding mower saves enormous time. Our Agri-Fab pull-behind broadcast spreader review covers what to expect from that category.
Mow & Prep the Lawn
Start by mowing the lawn shorter than usual — roughly 1.5 to 2 inches — and bag the clippings instead of mulching them. Shorter grass means more seed actually reaches the soil surface instead of getting trapped in a thick canopy of existing blades. Clear away leaves, twigs, and any thatch buildup thicker than about half an inch, since a heavy thatch layer acts like a barrier that keeps seed from ever touching soil.
If your lawn is bare or scalped in large patches, gently loosen the top quarter-inch of soil with a garden rake in those spots — seed makes far better contact with loosened soil than with a hard, compacted crust.
Dethatch & Aerate (When Needed)
If you press a screwdriver into your lawn and it stops within an inch, your soil is compacted, and seed-to-soil contact will suffer no matter how well you spread it. Core aeration pulls small plugs of soil out of the ground, creating pockets where seed can settle in and root freely. Aeration is optional for lawns with loose, healthy soil, but it’s one of the highest-leverage steps for older, heavily-trafficked, or clay-heavy lawns.
A light pass with a dethatching rake or power dethatcher beforehand also helps if you have more than half an inch of thatch, since dense thatch otherwise cushions seed above the soil where it dries out too fast to germinate.
Test & Calibrate the Spreader
This is the step almost everyone skips, and it’s the reason so many overseeding attempts come out streaky. Every seed bag lists a recommended seeding rate in pounds per 1,000 square feet, and every spreader has a numbered dial that controls how much seed drops per pass — but those dial numbers are not standardized across brands. A setting of “5” on one spreader can be twice as heavy as a “5” on another.
To calibrate, weigh out enough seed to cover a known, small test area — say, 100 square feet marked off with string or stakes — at the rate your seed bag recommends. Pour that measured amount into the hopper, set the dial to your spreader manufacturer’s suggested starting point, and walk the test area once. If seed remains in the hopper, increase the setting slightly; if you run out before finishing, decrease it. Repeat until the measured amount empties almost exactly over the test area. This five-minute test is what prevents both wasted seed and bald patches.
For a full walkthrough of calibration math and dial reference charts by brand, see our guide on how to calibrate a spreader.
Load the Hopper Correctly
Fill the hopper over a driveway, tarp, or patio rather than directly on the lawn — spills are inevitable, and a pile of seed dumped straight onto grass germinates into a dense, ugly clump. Close the flow gate before loading, set the dial to your calibrated number, and give the hopper a light shake once loaded so seed settles evenly rather than bridging above the opening.
Spread the Seed: Perimeter First, Then Fill
Professional lawn crews use a simple two-pass technique that home users rarely know about. First, walk the entire perimeter of the lawn — along fences, walkways, driveways, and flower beds — with the flow gate open at your calibrated setting. This establishes clean edges and prevents seed waste onto hardscape. Then, fill in the interior using parallel back-and-forth passes, slightly overlapping each pass by a few inches with the previous one’s wheel track to avoid faint striping.
On slopes or wind-exposed areas, walk perpendicular to the slope’s fall line to prevent seed from washing downhill, and skip windy days entirely — even a light breeze can blow lightweight seed dramatically off-target.

Need seed to pair with your spreader?
For an even, gap-free result, pair a calibrated spreader with quality seed. See our tips on how to spread grass seed evenly for extra troubleshooting.
Shop Grass Seed on AmazonApply a Starter Fertilizer Pass
Immediately after seeding, run a second, separate pass with a seed-safe starter fertilizer, ideally one higher in phosphorus, which supports early root development. Never combine a weed-and-feed product with new seed — the herbicide component will kill germinating seedlings right along with the weeds. Empty the hopper of leftover seed first, or better yet, use a second spreader dedicated to fertilizer if you overseed often.
Rake, Roll & Water In
Lightly rake the seeded area with the back of a leaf rake, just enough to work seed into the top eighth of an inch of soil without burying it too deep to sprout. On sloped areas, a light straw mulch or seeding mat helps hold both seed and moisture in place. If you have a lawn roller, a light pass afterward improves seed-to-soil contact further, especially on looser, aerated soil.
Water immediately after seeding, keeping the top half-inch of soil consistently moist — often light watering once or twice daily — until germination begins. Once seedlings emerge, gradually shift to deeper, less frequent watering to encourage roots downward.
Post-Seeding Care Schedule
| Timeframe | Task | Notes |
|---|---|---|
| Days 1–10 | Light, frequent watering | Keep surface consistently moist, avoid puddling |
| Days 10–21 | First mow | Once new grass reaches 3–3.5 in., mow to 3 in. |
| Weeks 3–6 | Deeper, less frequent watering | Encourages deeper root growth |
| Week 6+ | Resume normal mowing/fertilizing routine | Avoid herbicides until several mows in |
Avoid heavy foot traffic on newly seeded areas for at least three to four weeks, and hold off on any weed control products until the new grass has been mowed several times, since young seedlings are more herbicide-sensitive than established turf.
Broadcast vs. Drop Spreaders for Overseeding
| Feature | Broadcast Spreader | Drop Spreader |
|---|---|---|
| Coverage width | Wide fan pattern (6–12 ft) | Narrow, matches hopper width |
| Speed | Faster for large lawns | Slower, more passes needed |
| Precision near edges | Lower — seed can drift | Higher — minimal drift |
| Best for | Open lawns, mid-to-large yards | Small lawns, tight borders |
Many experienced lawn owners use a broadcast spreader for the bulk of the yard and reserve a drop spreader — or a handheld unit — for narrow strips near flower beds, sidewalks, and property lines. For a full technique walkthrough regardless of which model you own, see our guide on how to use a broadcast spreader.
Common Mistakes to Avoid
Mistakes That Ruin Results
- Skipping calibration and guessing the dial setting
- Seeding into thick thatch instead of bare soil contact
- Using a weed-and-feed product on new seedlings
- Letting the seedbed dry out during germination
- Mowing too early or too short after germination
Habits That Improve Results
- Testing the spreader on a marked-off area first
- Overlapping passes slightly to avoid stripes
- Watering lightly but consistently until sprouting
- Cleaning the spreader after each use
- Matching seed variety to sun/shade conditions
After you finish, give the spreader a quick rinse and dry it before storage — leftover seed and fertilizer residue corrode the hopper and gears over time. Our guide on how to clean a lawn spreader covers the full maintenance routine.
Frequently Asked Questions
How often should I overseed my lawn?
Most lawns benefit from overseeding once a year, typically in early fall for cool-season grasses. Lawns recovering from heavy damage, drought, or disease may need overseeding for two consecutive seasons before density fully recovers.
Can I overseed without aerating first?
Yes, especially on lawns with loose, healthy soil. Aeration simply improves seed-to-soil contact on compacted ground, so it’s a strong recommendation rather than an absolute requirement.
What spreader setting should I use for overseeding?
There’s no universal number — settings vary by brand and by seed type. Always calibrate using the test-area method described in Step 3 rather than relying on a chart alone.
How soon can I mow after overseeding?
Wait until new grass reaches about 3 to 3.5 inches tall, generally two to three weeks after germination, then mow to roughly 3 inches to avoid stressing shallow young roots.
Should I water before or after spreading seed?
Water lightly before seeding if the soil is dry, then water again immediately after spreading to help settle seed against the soil surface.
Can I use a fertilizer spreader for seed too?
Most broadcast and drop spreaders handle both seed and granular fertilizer, but always empty and rinse the hopper between uses to avoid cross-contamination, especially with weed-control products.
Why does my overseeded lawn look striped?
Striping usually means passes weren’t overlapped enough, or the spreader wasn’t calibrated evenly. Overlapping each pass by a few inches with the previous wheel track largely eliminates this.
Is it better to overseed in spring or fall?
For most cool-season lawns, fall wins because of warm soil, cooling air, and lower weed competition. Spring is a workable backup but comes with more competition from crabgrass and other summer weeds.
How much seed should go in the spreader per pass?
This depends entirely on the seed bag’s recommended rate per 1,000 square feet and your calibrated dial setting — there’s no fixed universal amount.
Do I need to remove old grass before overseeding?
No. Overseeding is designed to work into existing turf. Just mow shorter than usual and clear debris so seed reaches the soil.
What happens if I overseed too heavily?
Overly dense seeding causes seedlings to compete for light, water, and nutrients, often resulting in thin, weak grass rather than the thick lawn you were aiming for.
Can I walk on the lawn while it’s germinating?
Try to avoid foot traffic on freshly seeded areas for three to four weeks, since young seedlings are easily uprooted or crushed before their roots establish.
Ready to Fill In Those Bare Patches?
Overseeding with a spreader isn’t complicated once you break it down: prep the lawn, calibrate the spreader, spread in a perimeter-then-fill pattern, feed lightly, and keep the seedbed moist until germination takes hold. Follow the eight steps above in order, and even a first-time overseeding project can produce a noticeably thicker, more even lawn within a season.
Shop Spreaders & Seed on Amazon